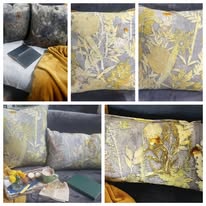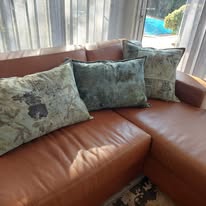
What Is Eco Printing?
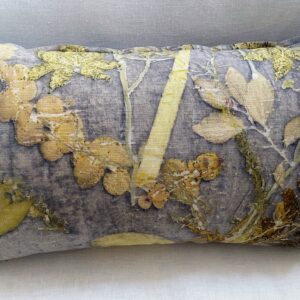
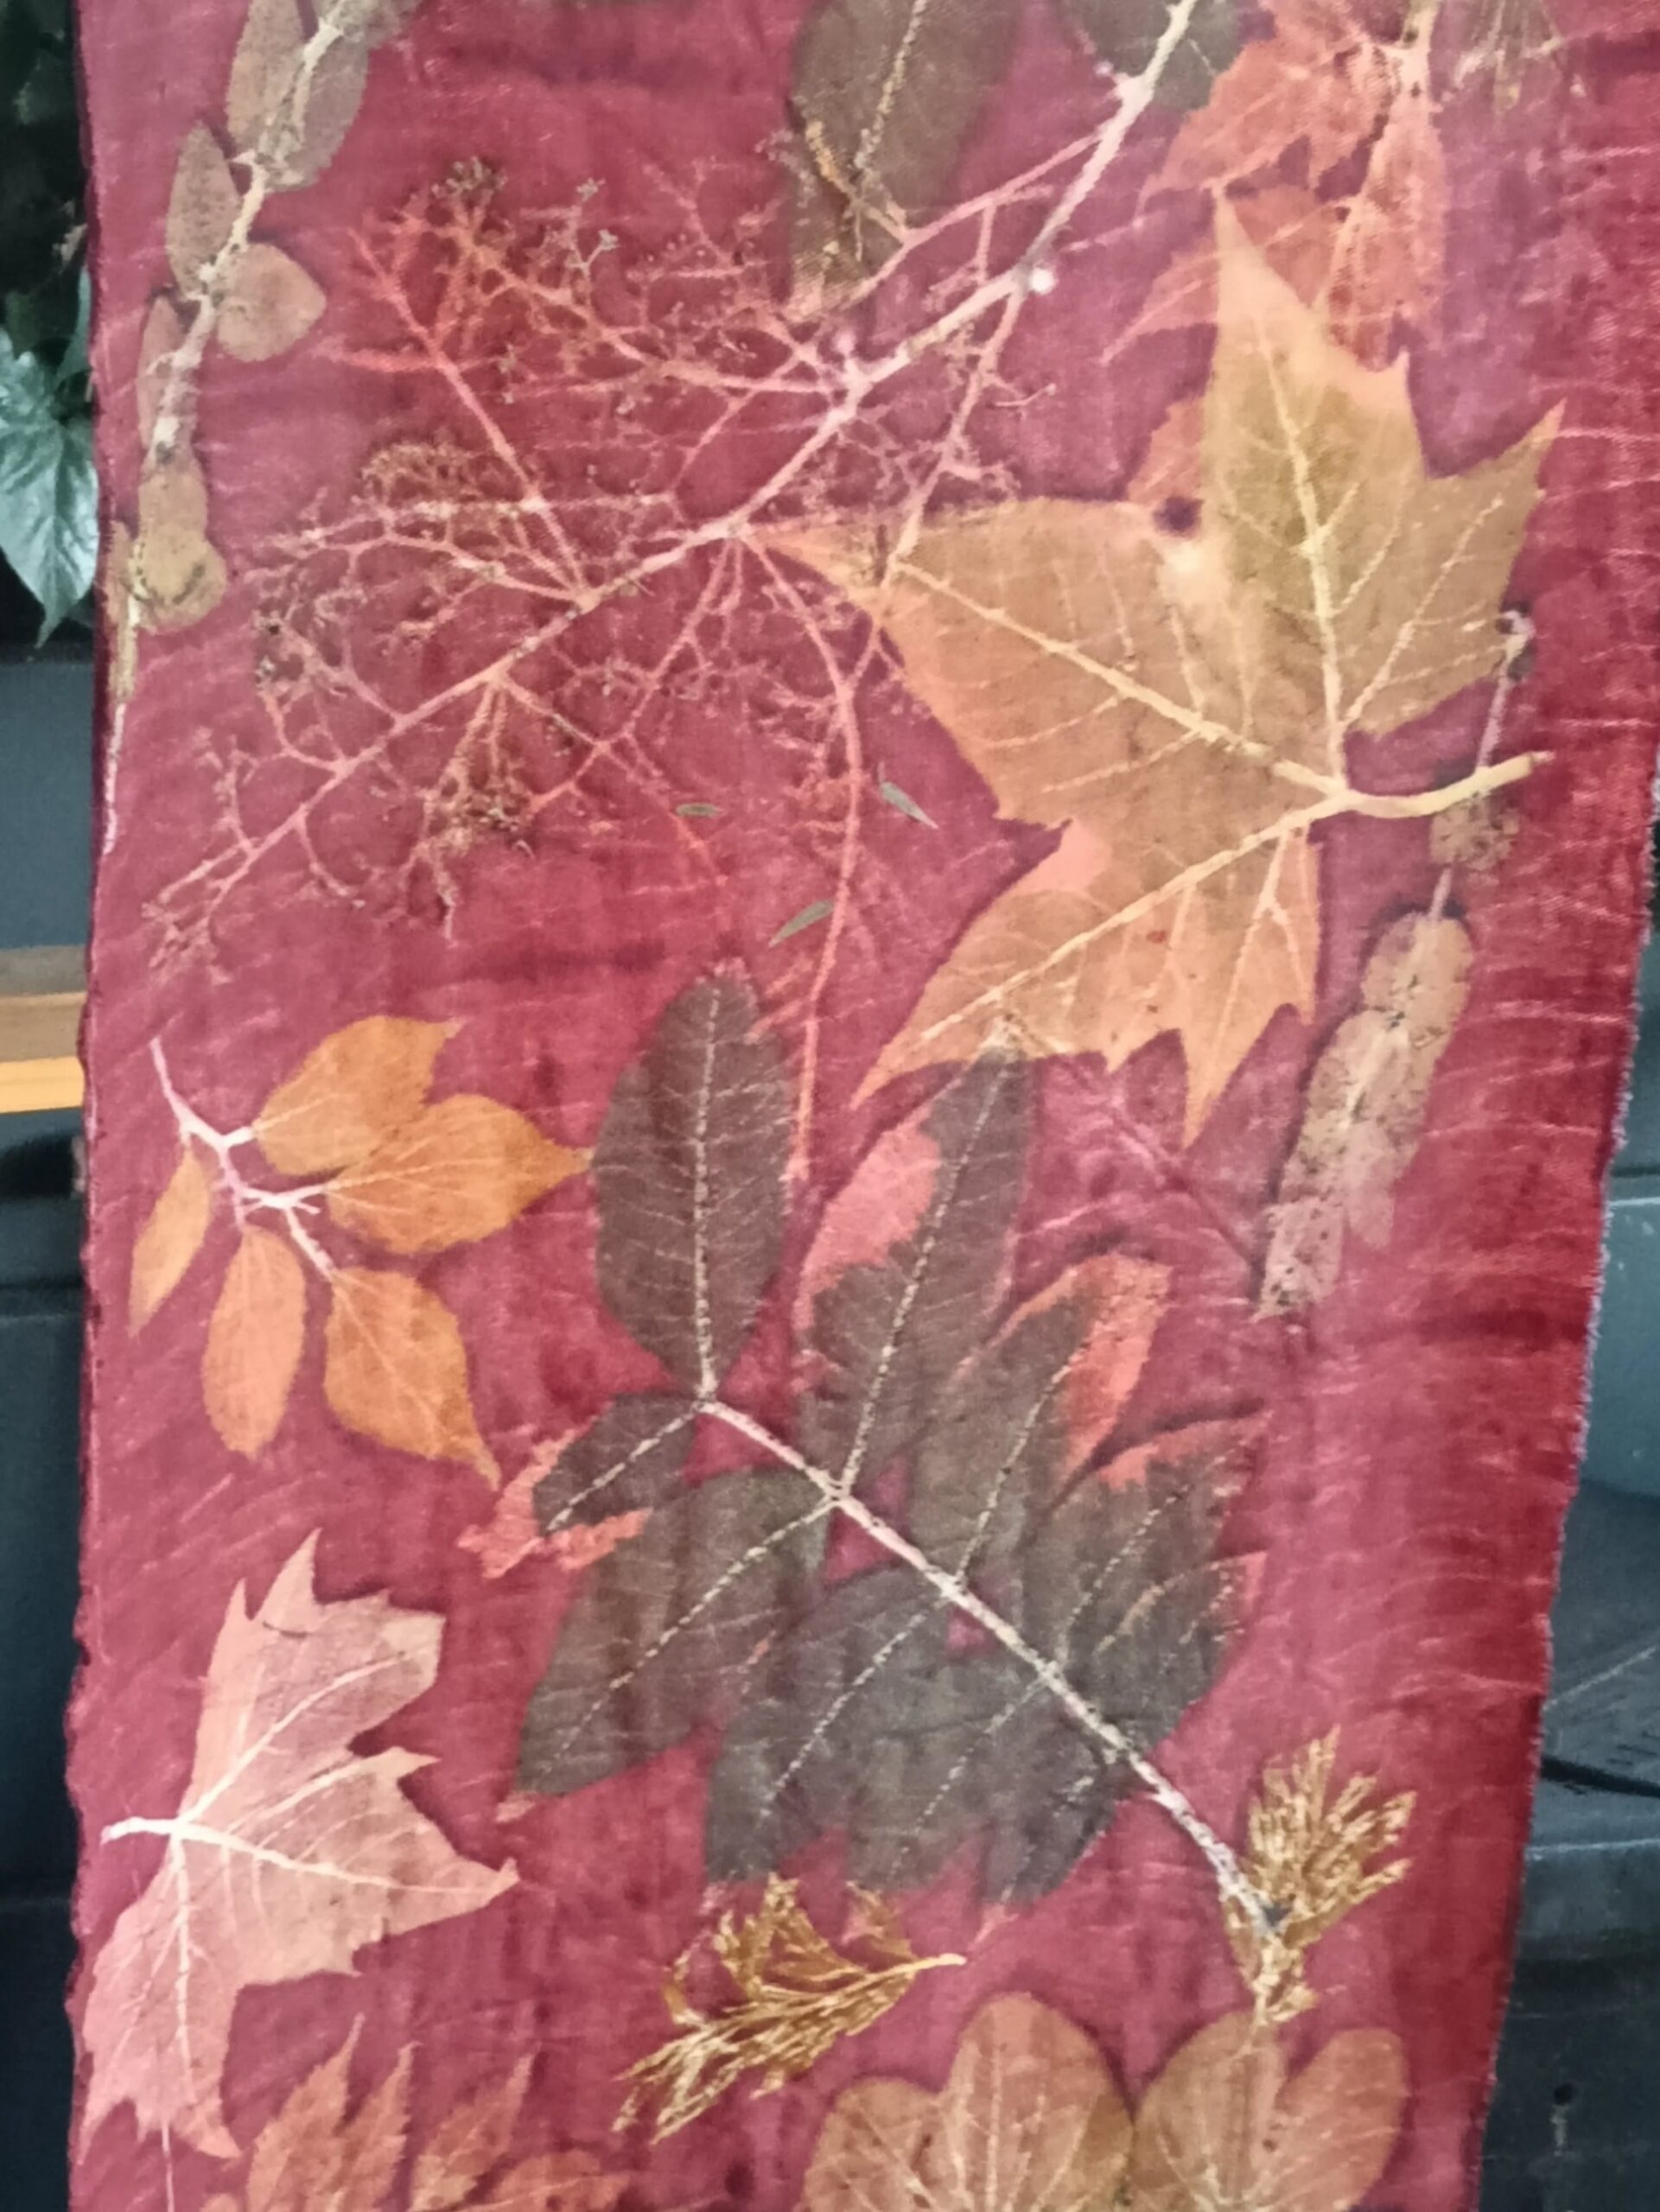
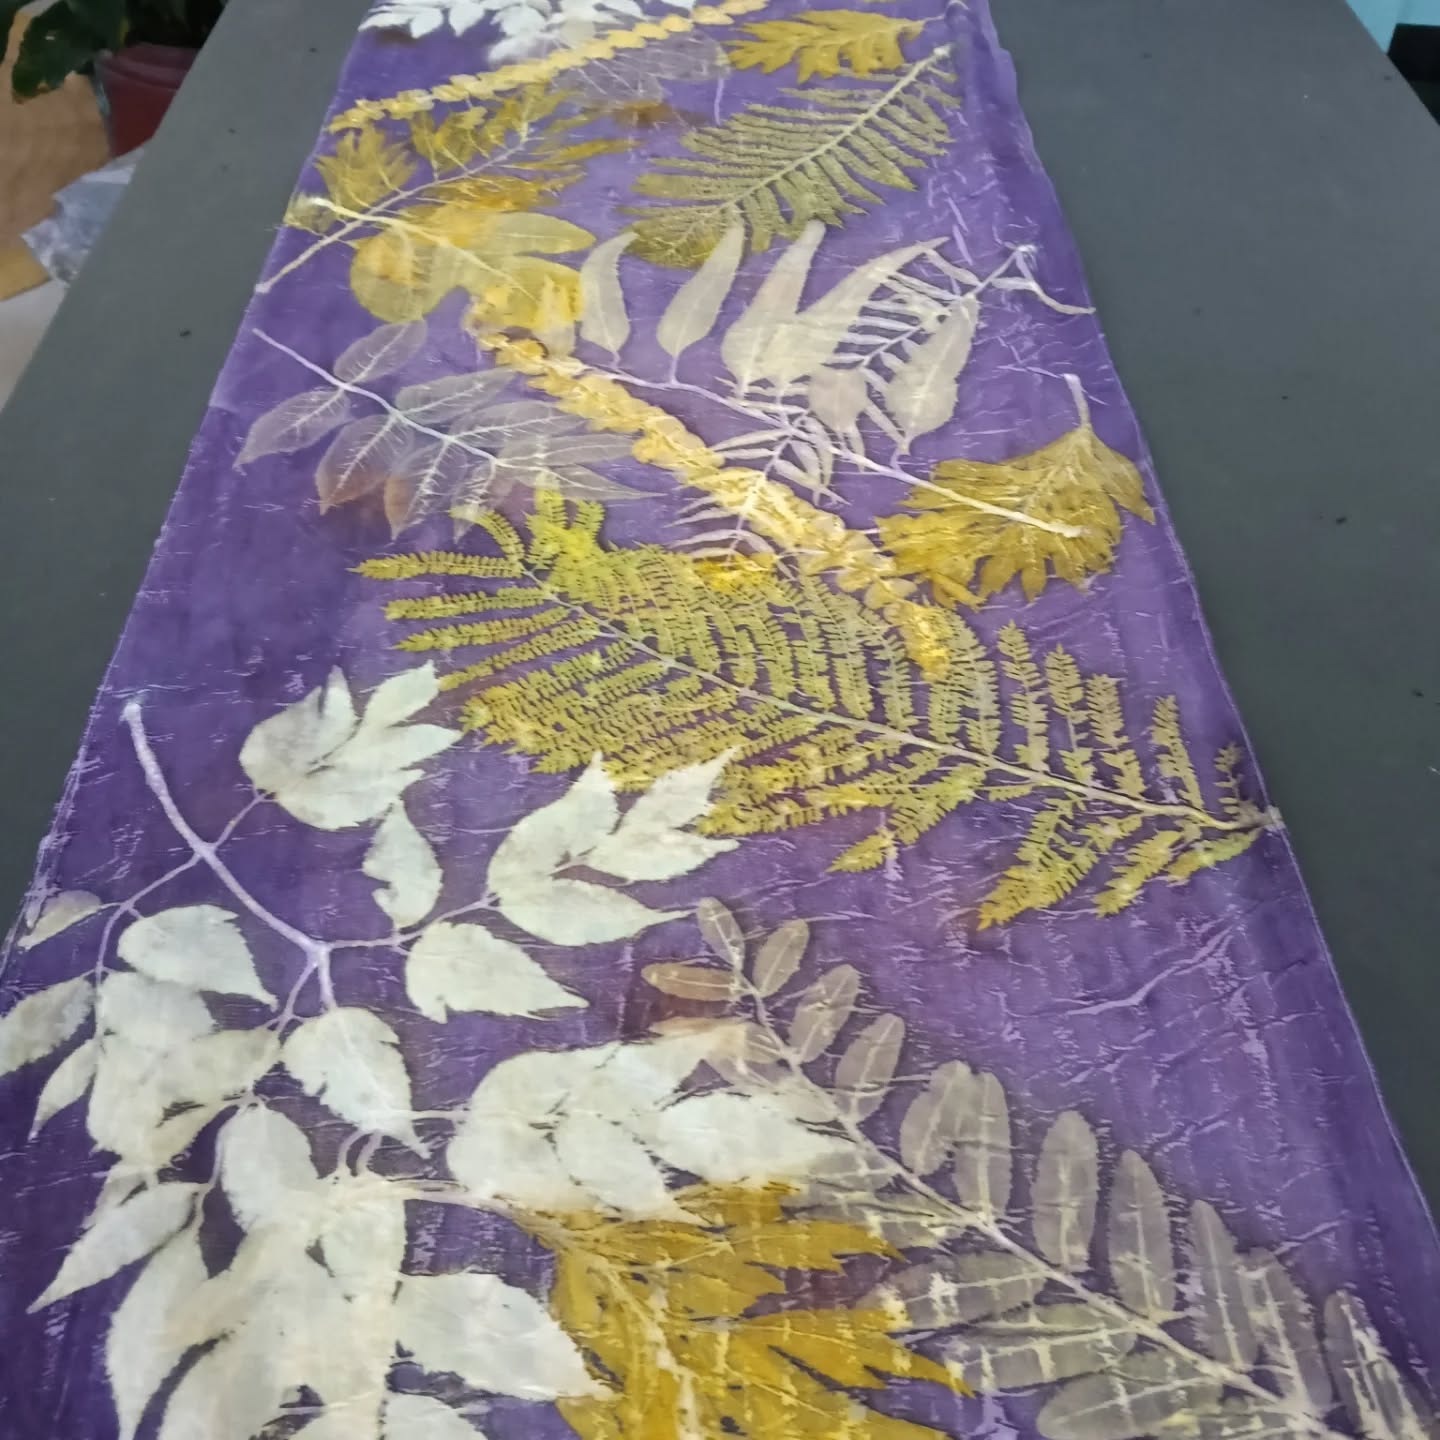
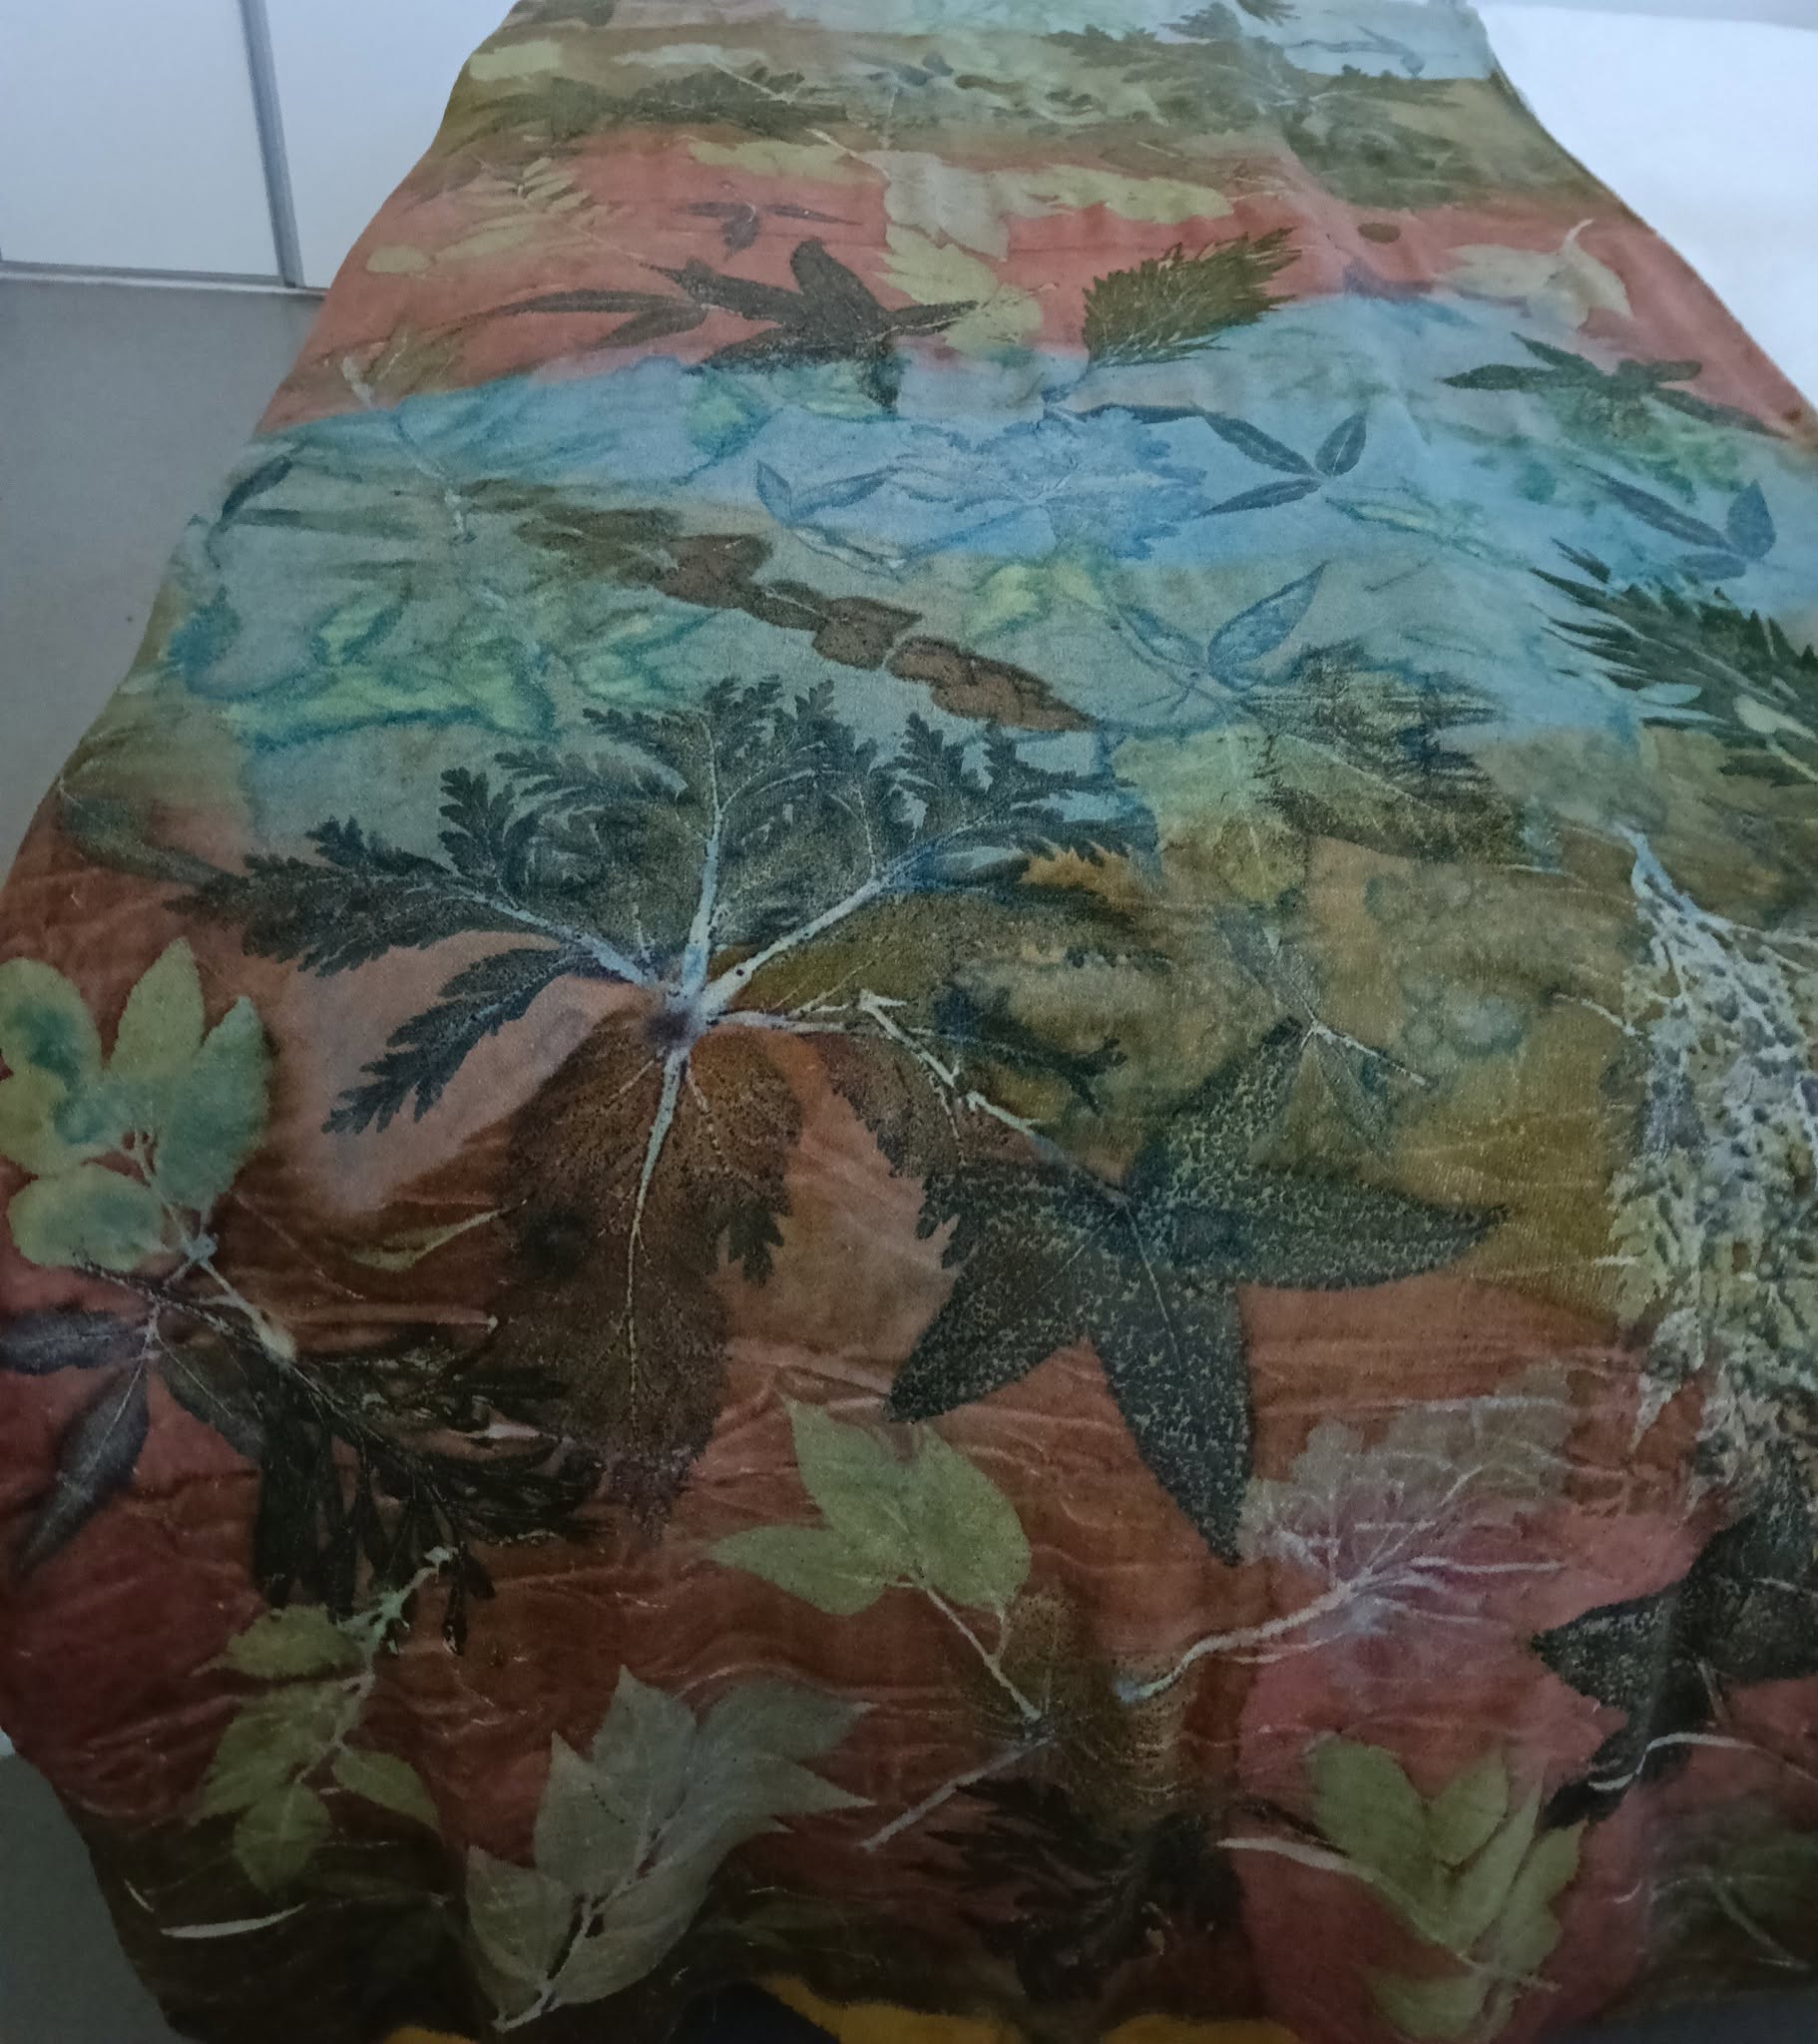
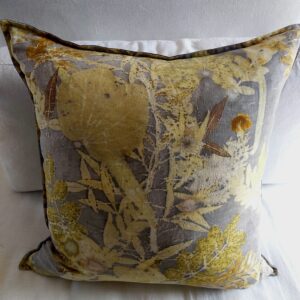
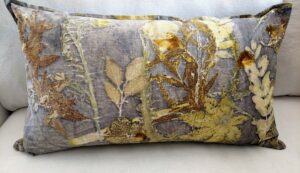
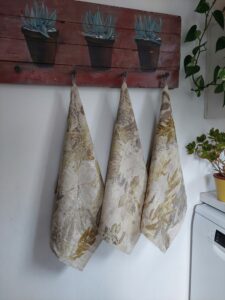
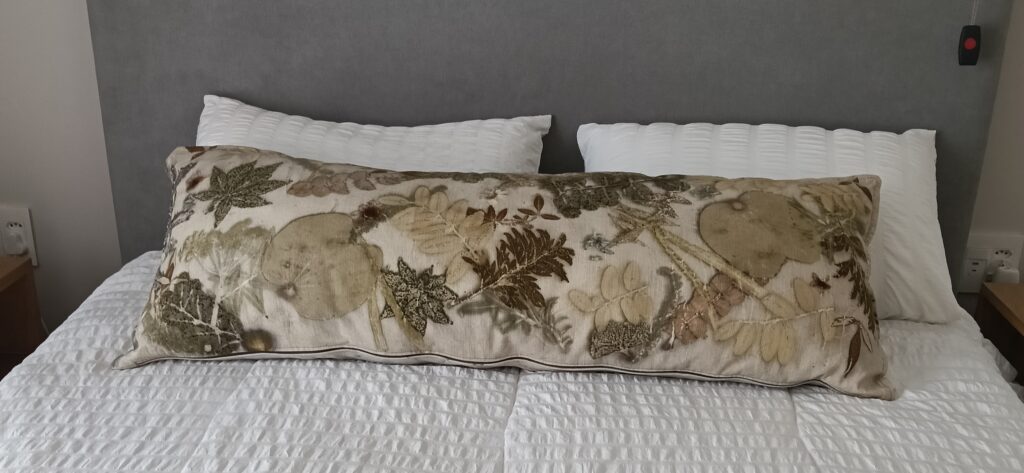
Introduction: Picture a leaf pressed onto cloth, leaving behind its exact veins, edges, and colour, as if the plant had signed its own name. That’s eco printing — and it’s the heart of what happens at Fickle Leaf Studio.
Eco printing isn’t a modern invention dressed up in eco-friendly language; it draws on techniques that go back generations, long before synthetic dyes or printing machines existed. Communities around the world have always looked to the plants growing around them, worked out through patient trial and error which leaves held their colour and which faded, and found ways to decorate cloth that were as sustainable as they were beautiful. Every bundle we steam today carries a thread of that same knowledge forward.
It helps to know how eco printing differs from regular natural dyeing. In dyeing, plant matter is boiled or soaked so its colour leaches into the water, and that coloured water is what dyes the fabric. Eco printing works differently: the actual leaf, flower, or piece of bark is pressed directly onto the cloth, so its true shape — not just its colour — transfers across. It’s less “dyeing with plants” and more letting the plant leave its own signature.
That’s also why the craft still matters in a world of fast fashion and synthetic colour. It skips the chemical dyes that pollute waterways and harm the people who work with them. It produces pieces that can never be exactly duplicated, because no two leaves — or two steaming sessions — ever behave quite the same way. And it reconnects the person wearing or displaying the piece with something real: an actual leaf, gathered from an actual garden, captured in colour it made itself. Every scarf, wrap, or printed piece that leaves this studio carries a little of that history with it.
The Process
1a. Prepare the Fabric
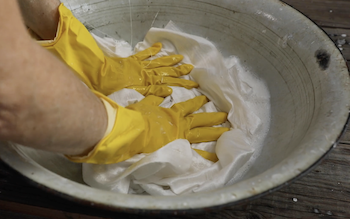
Scouring the fabric Before any dye can take hold, the fabric needs to be completely clean — free of the oils, waxes, and finishing agents that manufacturers apply to fabric during production. We scour natural fibres like cotton, silk, wool, and linen in a hot wash with a scouring agent (like soda ash or a mild detergent), then rinse thoroughly. Skip this step and the print will come out patchy, since dye can’t bond evenly to fabric that still has factory residue on it.
1b.
Mordanting A mordant is a mineral solution — most commonly alum – that’s applied to the fabric before printing. Its job is to open up the fibres and create a chemical “bridge” that help the plant’s pigment bond permanently to the cloth. Without mordanting, prints fade quickly or wash out altogether. Different mordants also shift the resulting colours: alum tends to keep tones bright and true, while iron saddens (darkens) colours and can bring out greys and blacks in the print.
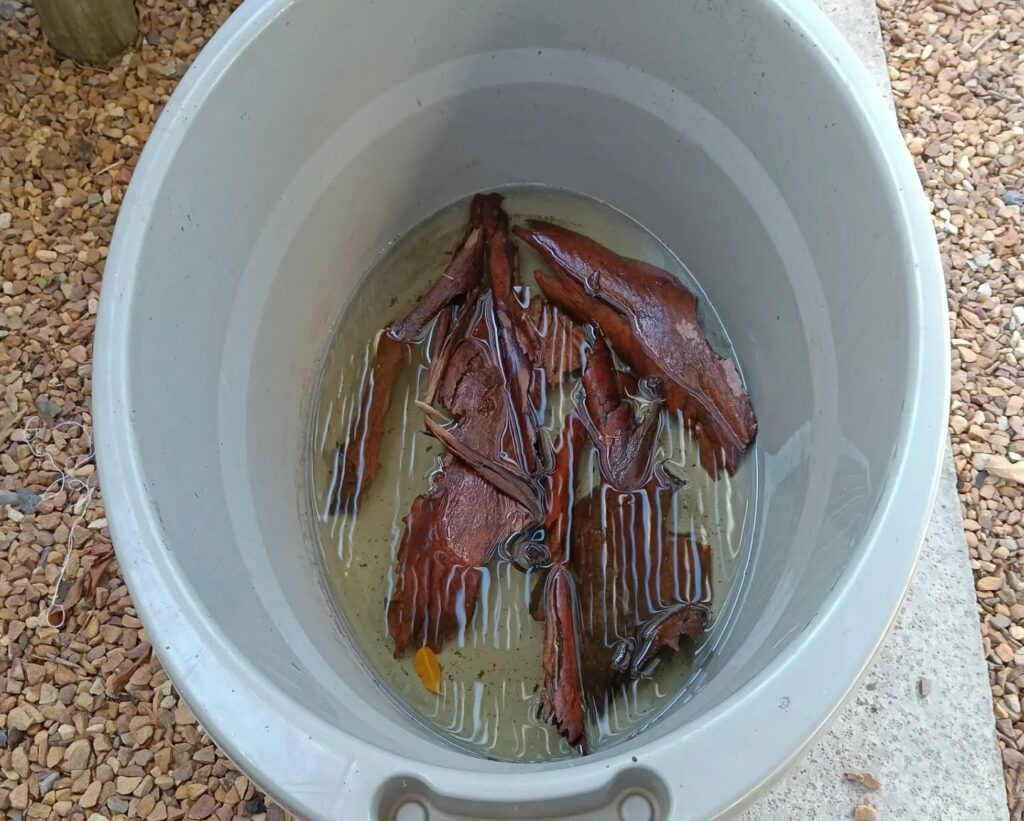
2. Collect and Prepare Leaves/Flowers
Gathering and selecting plant material Not every leaf prints well, and this is where a lot of the craft’s skill lives. Leaves high in tannin — eucalyptus, rose, maple, and certain oak varieties — tend to give the strongest, most reliable prints. Freshness matters too: some leaves print best picked fresh, others actually improve after a day or two of wilting. Part of the fun (and the “fickle” nature of the craft) is that the same leaf can print differently depending on the season, the soil it grew in, and even the weather that week.
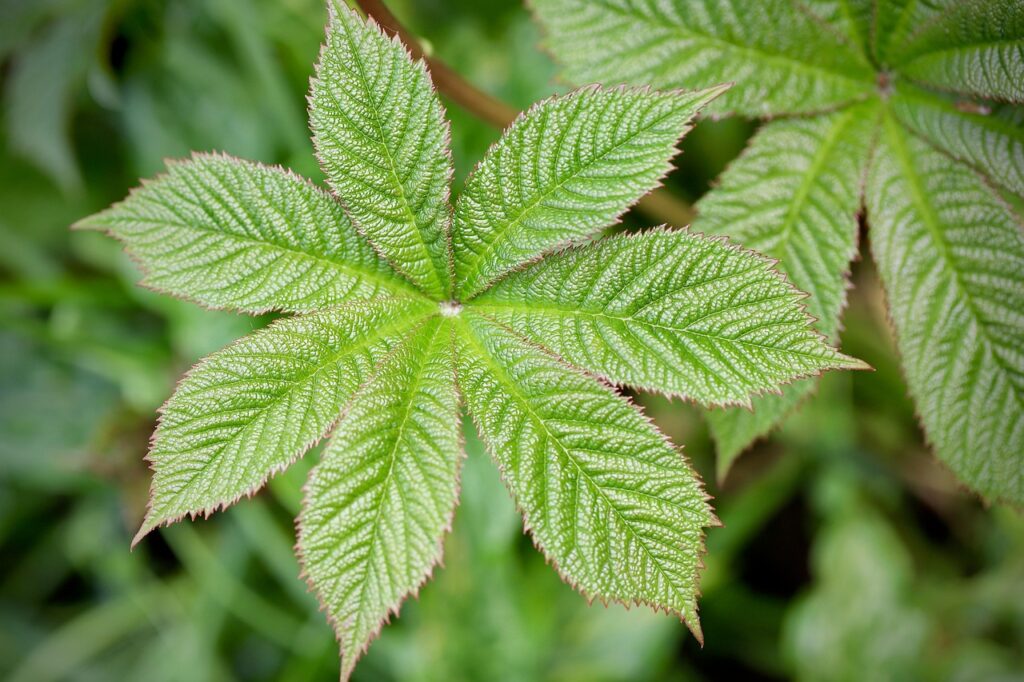
3. Laying out the leaves
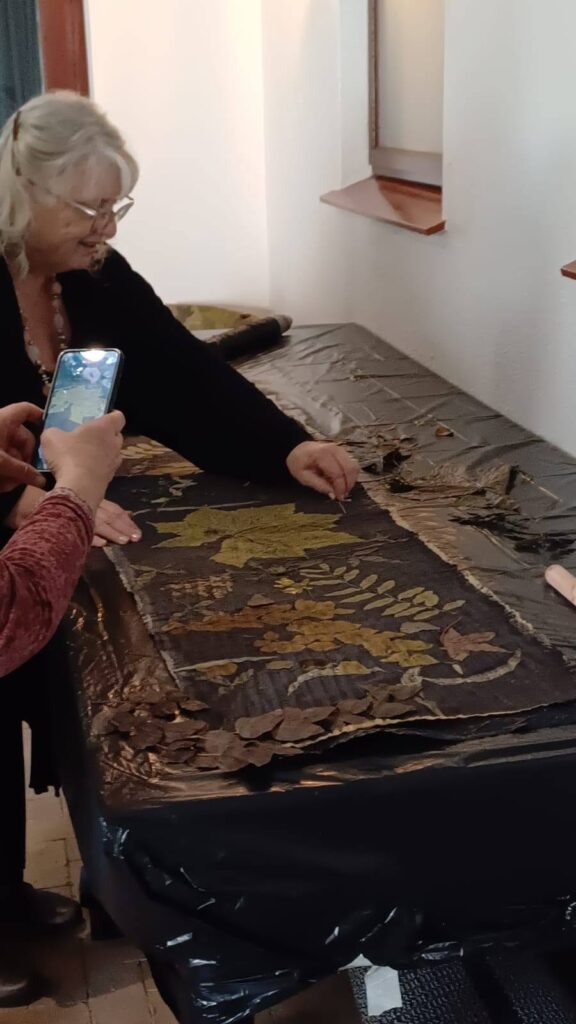
The prepared fabric is laid flat, and leaves are arranged face-down or face-up (depending on the desired effect) directly onto the cloth. This is the moment of composition — deciding density, pattern, and placement — and it’s entirely up to the printer’s eye. Some leaves are dipped in an iron modifier first to darken their print or sharpen their outline before they’re placed
4. Roll and Bind
Once the leaves are arranged, the fabric is rolled tightly — often around a stick, dowel, or pipe — sandwiching the plant material firmly against the cloth. The bundle is then bound tightly with string or cord. Tight, even pressure is critical here: it’s what forces sustained contact between leaf and fibre, and contact is what makes a clean, detailed print rather than a smudged one.
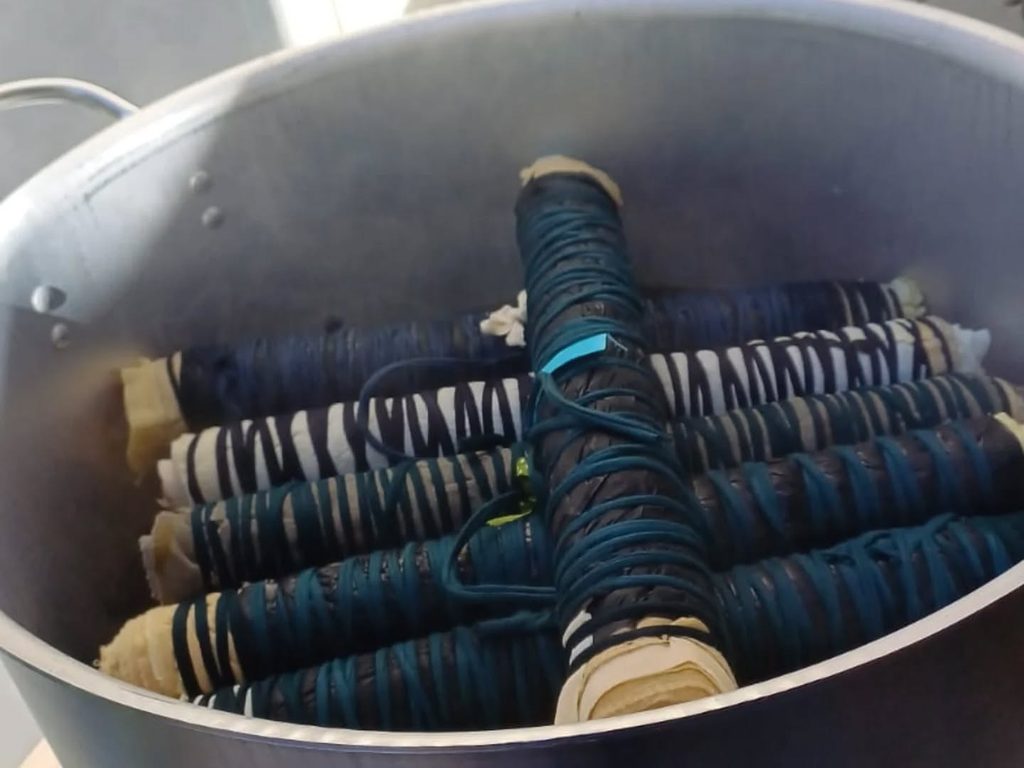
5. Steam or Boil
The bound bundle is steamed over boiling water (or in some methods, simmered directly in a dye pot) for anywhere from 45 minutes to a few hours. Heat and moisture work together to release the tannins and pigments trapped in the plant material, driving them into the fibres of the fabric. Timing depends on the fabric type, the leaves used, and the desired intensity of colour.
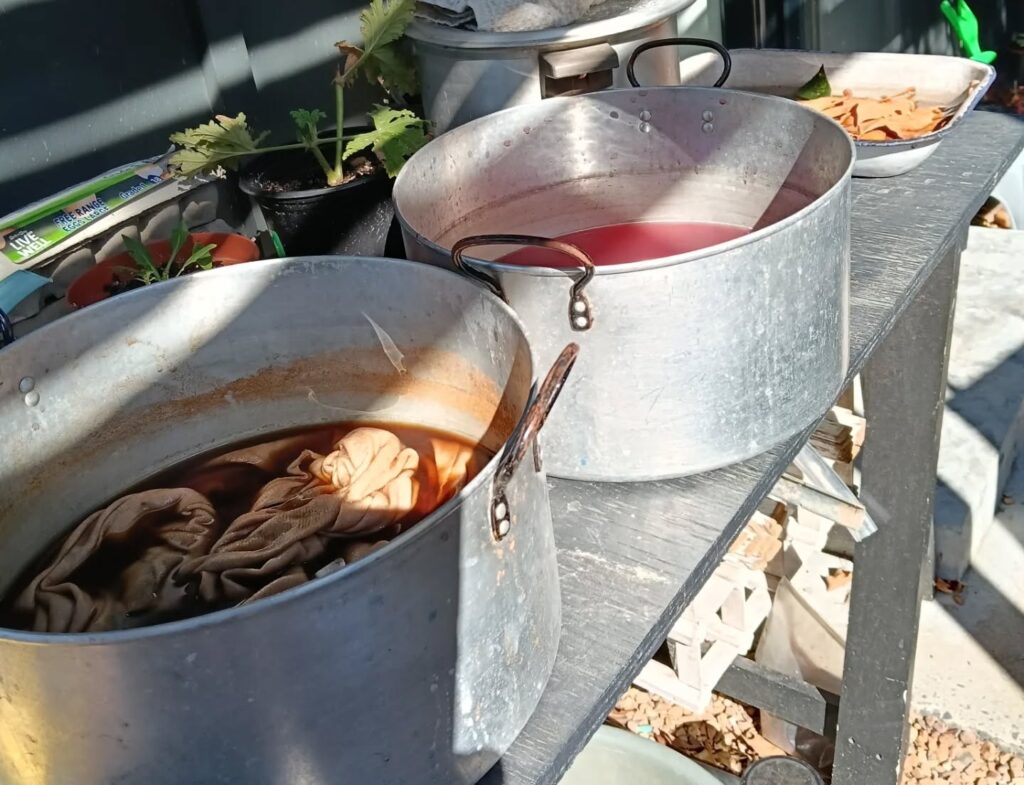
6. Cool and Unroll
This is the reveal — unrolling the bundle to see exactly what nature has left behind. Every unwrapping is a small surprise, since no two bundles ever turn out identically. Once unwrapped, the fabric is rinsed gently in cool water to remove any leftover plant debris, without scrubbing hard enough to disturb the fresh print.